*These instructions are made for all wooden WaterRower models. This includes the Natural, Club, Oxbridge and Classic models.
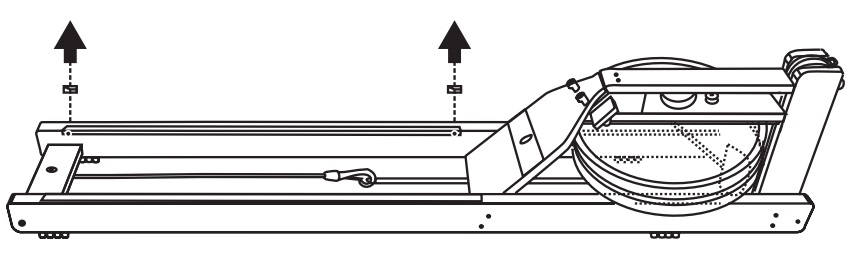
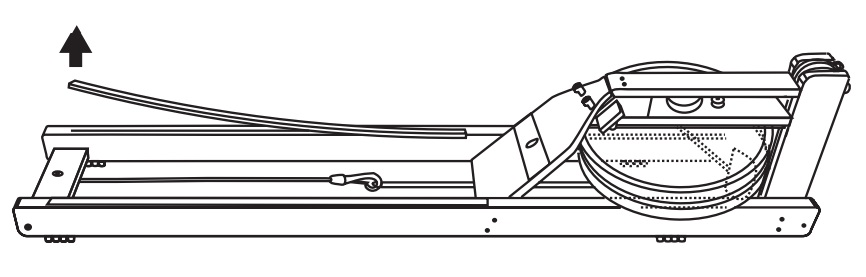
Step 1- With the 5mm Allen Key, unscrew the seat stops. There are two on each rail; one at the front, and one at the rear. Remove the seat from the WaterRower.
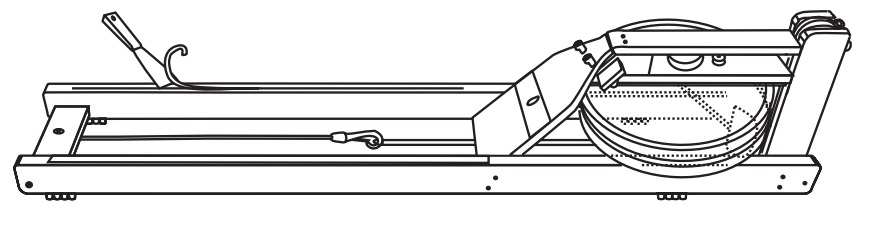
Step 2- Remove the old extrusion from the rail. The extrusions are anchored into a groove in the rail and are held in place with caulking. It may necessary to use a putty knife or a flat head screw driver to remove them.
Please be careful in this step. You do not want to damage the wood
Step 3- Remove all the old caulking from the grove on the rail, as well as the rail extrusion. You can do this using a putty knife or flat headed screwdriver. You may also use a hair dryer or a heat gun set at a very low setting to help soften the caulk so you can remove it easier.
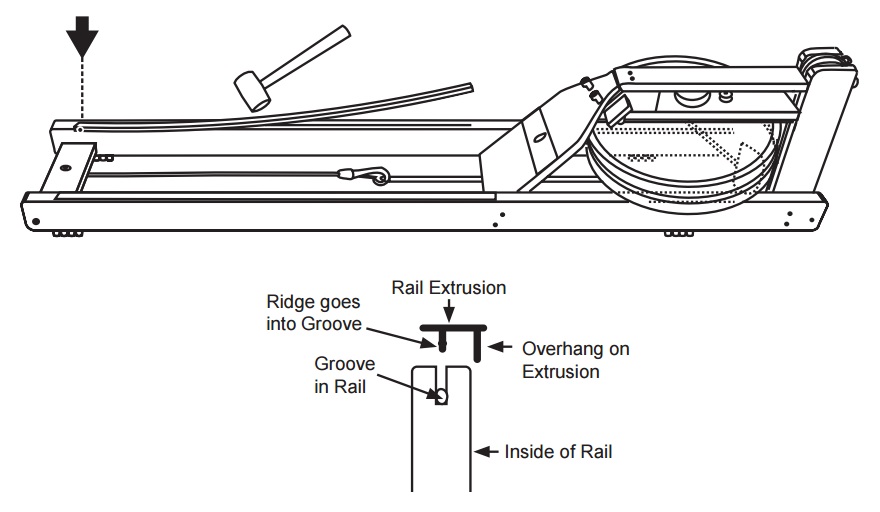
Step 4- Run a line of caulk down the groove in the rail.

When putting the new rail extrusion into place, make sure that the seat stop holes line up, and the overhang on the extrusion is on the inside of the rail. See the diagram below.
Set the rail extrusion onto the rail, so that the ridge on the bottom fits into the groove in the rail. Once aligned, set the extrusion into place on the rail by using a rubber mallet.
See the diagrams below
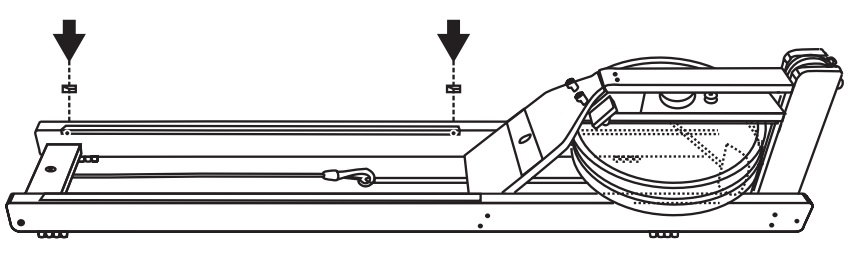
Step 5- With the 5mm Allen key, screw the rail seat stops back into place.
Step 6- If necessary, repeat steps 1-5 on the other rail.