Disassembly & Repackaging Instructions
Should you need to ship your WaterRower for any reason, please retain the original packaging to ensure your machine will be transported without damage. If you need to purchase an additional set of shipping boxes, they are available for purchase. Please contact [email protected] for details.
Disassembling the S4 WaterRower
Instructions for repackaging a DUAL RAIL unit
Step 1- Unhook bungee cord from recoil belt.
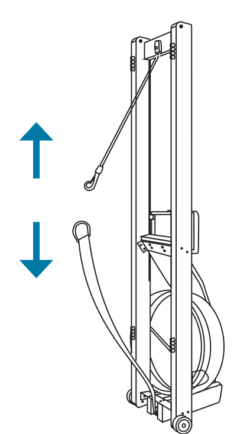
Step 2 – Lay the WaterRower down.
Step 3 – Remove the handle rest bolts and handle rests knobs as shown.
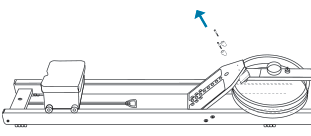
*Please note: Do not send the 2 handle rest knobs and 2 long screws into our workshop.
Step 4 - Remove side bolts fixing the footboard to the side rails as shown.
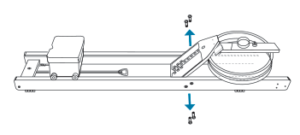
*Please note: Do not send the 4 JCN nuts & JCB bolts into our workshop.
Step 5 - Remove the footboard.
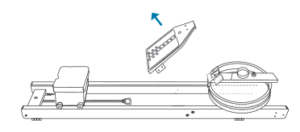
Step 6 - Remove the side bolts fastening the forward riser bracket to the side rails.
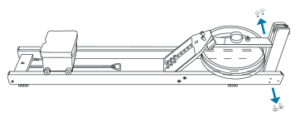
*Please note: Do not send the 4 JCN nuts & JCB bolts into our workshop.
Step 7 - Remove the tank assembly.
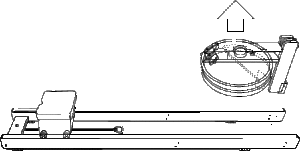
Step 8 – Box up the tank assembly and return to our manufacturing office:
Please include a note in the box with your name, address, contact information & reason for return.
WaterRower Inc.
Attn: Service Department
560 Metacom Avenue
Warren, RI 02885
t: (401)247-7742
e: [email protected]
1
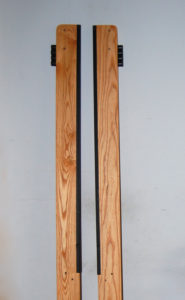
Align the rails with the Right Rail to the right side and Left Rail to the left side. Both rubber feetare facing outwards as shown in the picture.
2
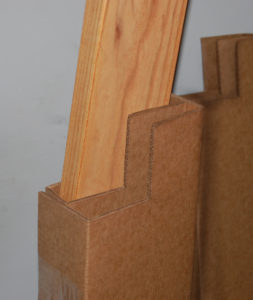
Insert the Right Rail into the back slot of the one half of the rail box. Ensure the top edge of the rail box is to the right side as seen in the picture.
3
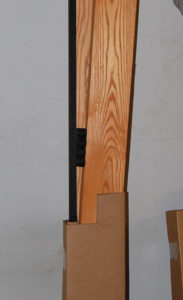
Align the rails with the Right Rail to the right side and Left Rail to the left side. Both rubber feetare facing outwards as shown in the picture.
4
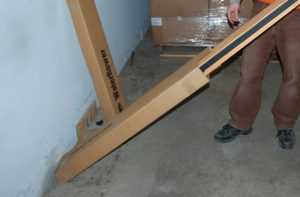
Angle the rails and stabilise the box end, this can be against the wall as shown in the picture.
4
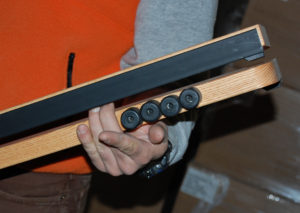
The rails will need to be opened apart slightly when inserting the other half of the rail box.
6
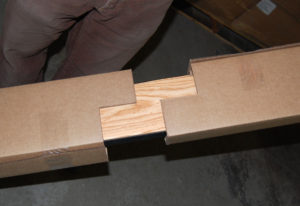
Position the other half of the rail box so the top edges of the box fit together. Slide the other half of the box down so that the two halves fit together
7
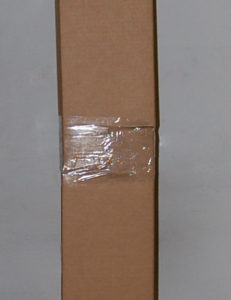
Tape the 2 boxes together.
Instructions for repacking a MONORAIL unit (including A1, GX)
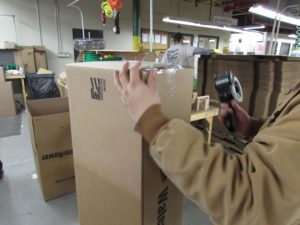
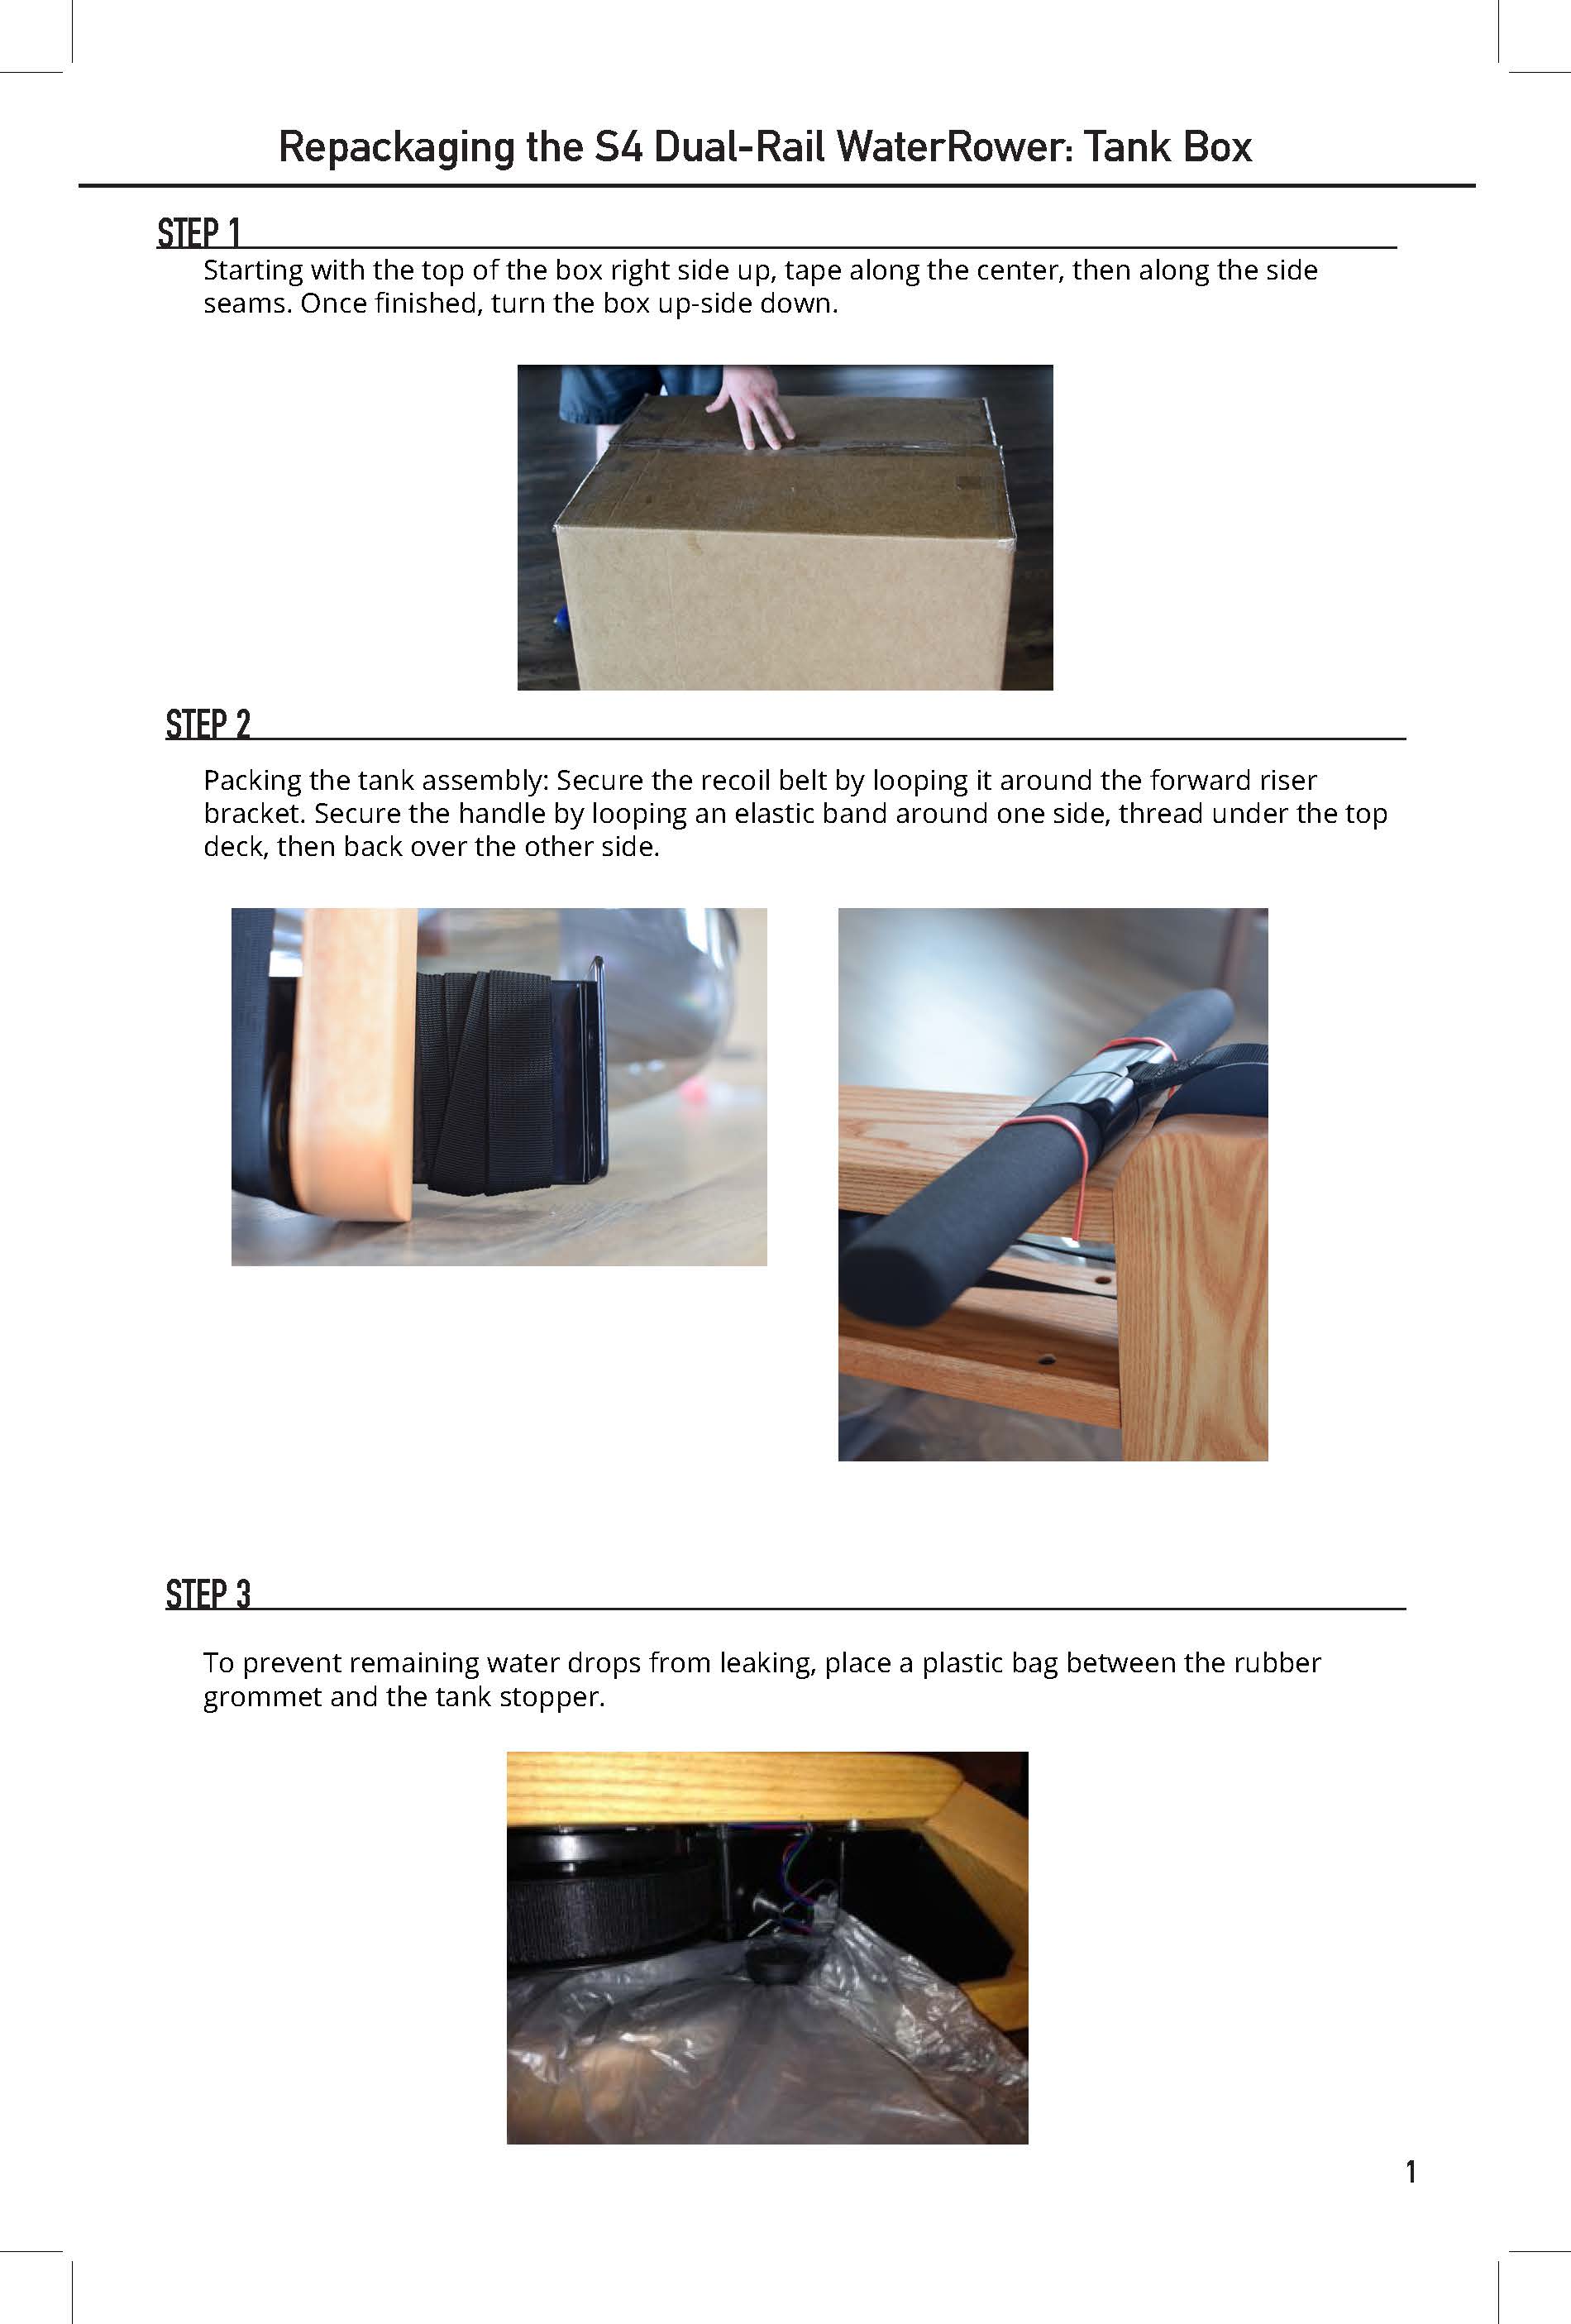
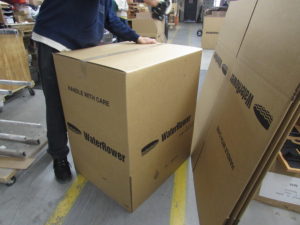
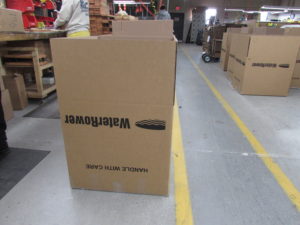
Step 1 - Starting with the top of the box right side up, tape along the center, then along the side seams. Once finished, turn the box up-side down.
1
2
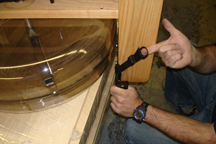
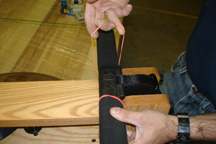
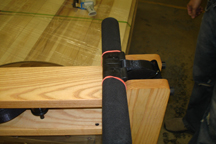
Step 2 - Pack the tank assembly. Secure the recoil belt by looping it around the forward riser bracket. Secure the handle by looping an elastic band around one side, thread under the top deck, then back over the other side.
1
2
3
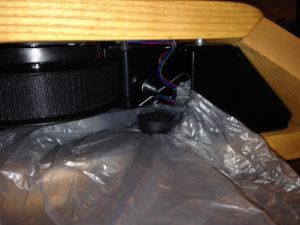
Step 3 - To prevent remaining water drops from leaking, place a plastic bag between the rubber grommet and the tank stopper.
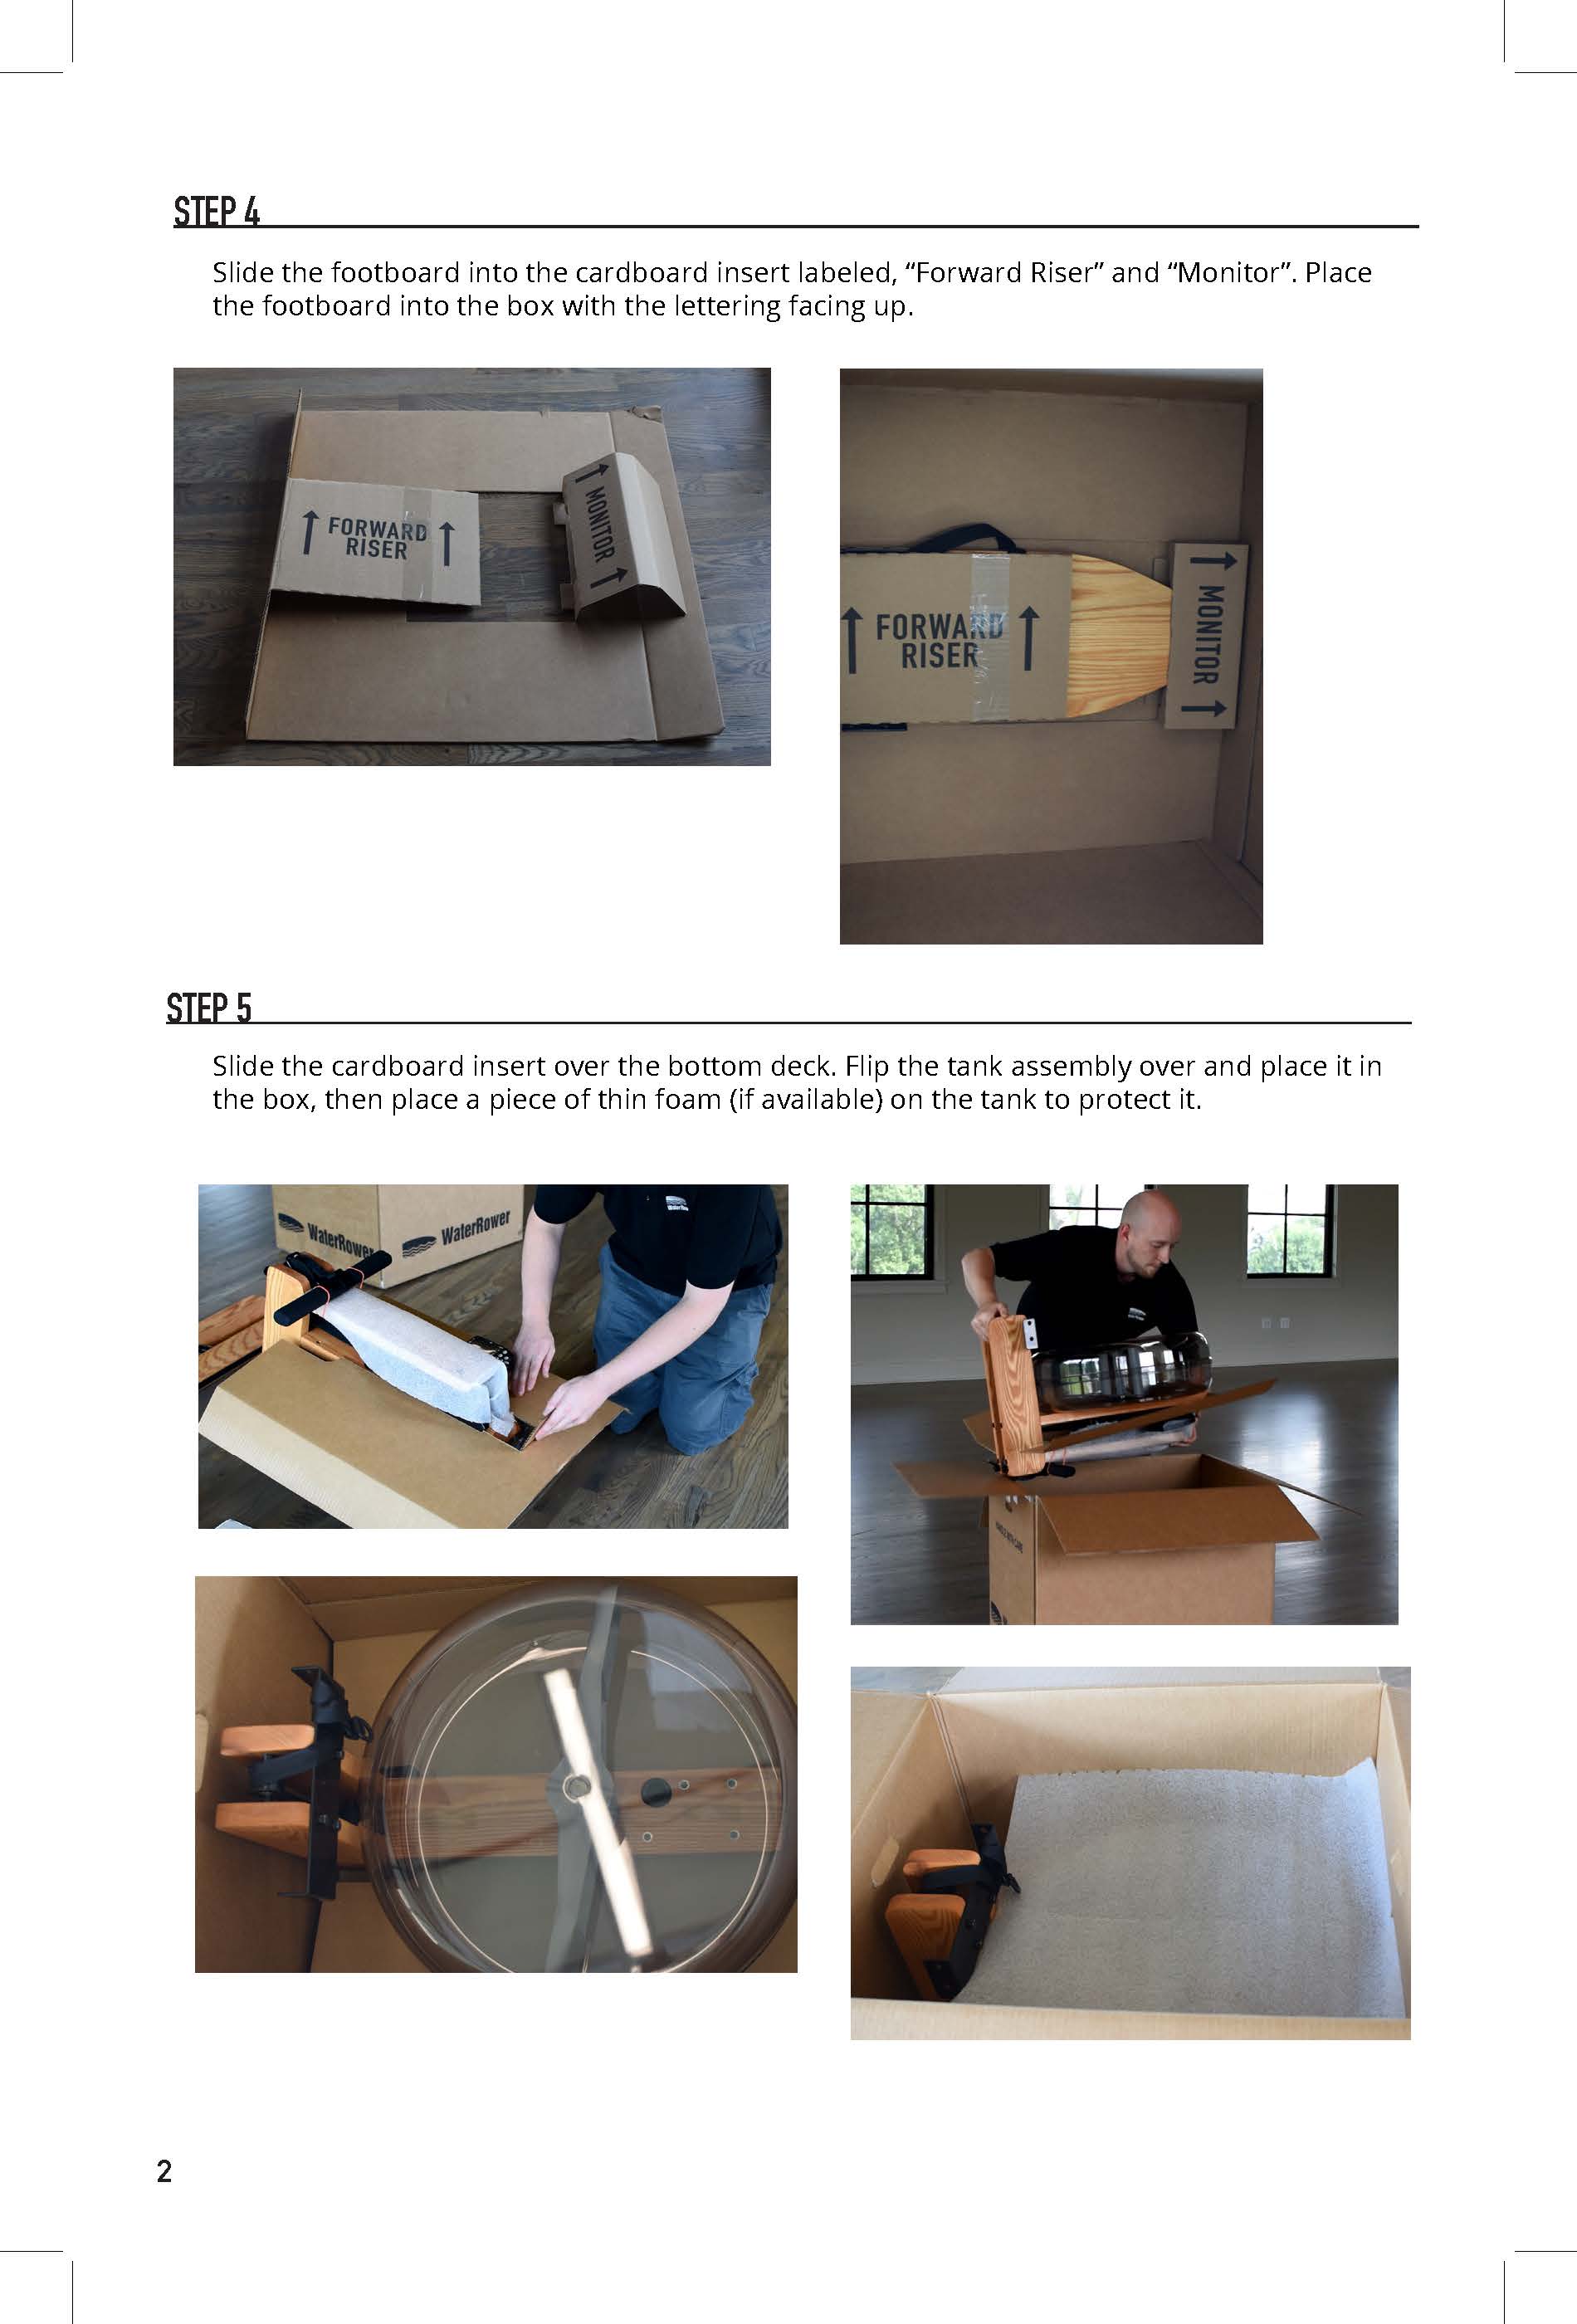
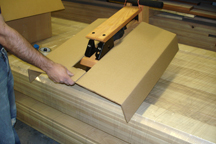
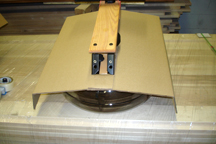
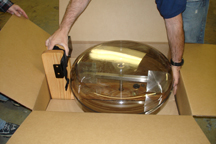
Step 4 - Slide the cardboard insert over the bottom deck. Flip the tank assembly over and place it in the box.
1
2
3
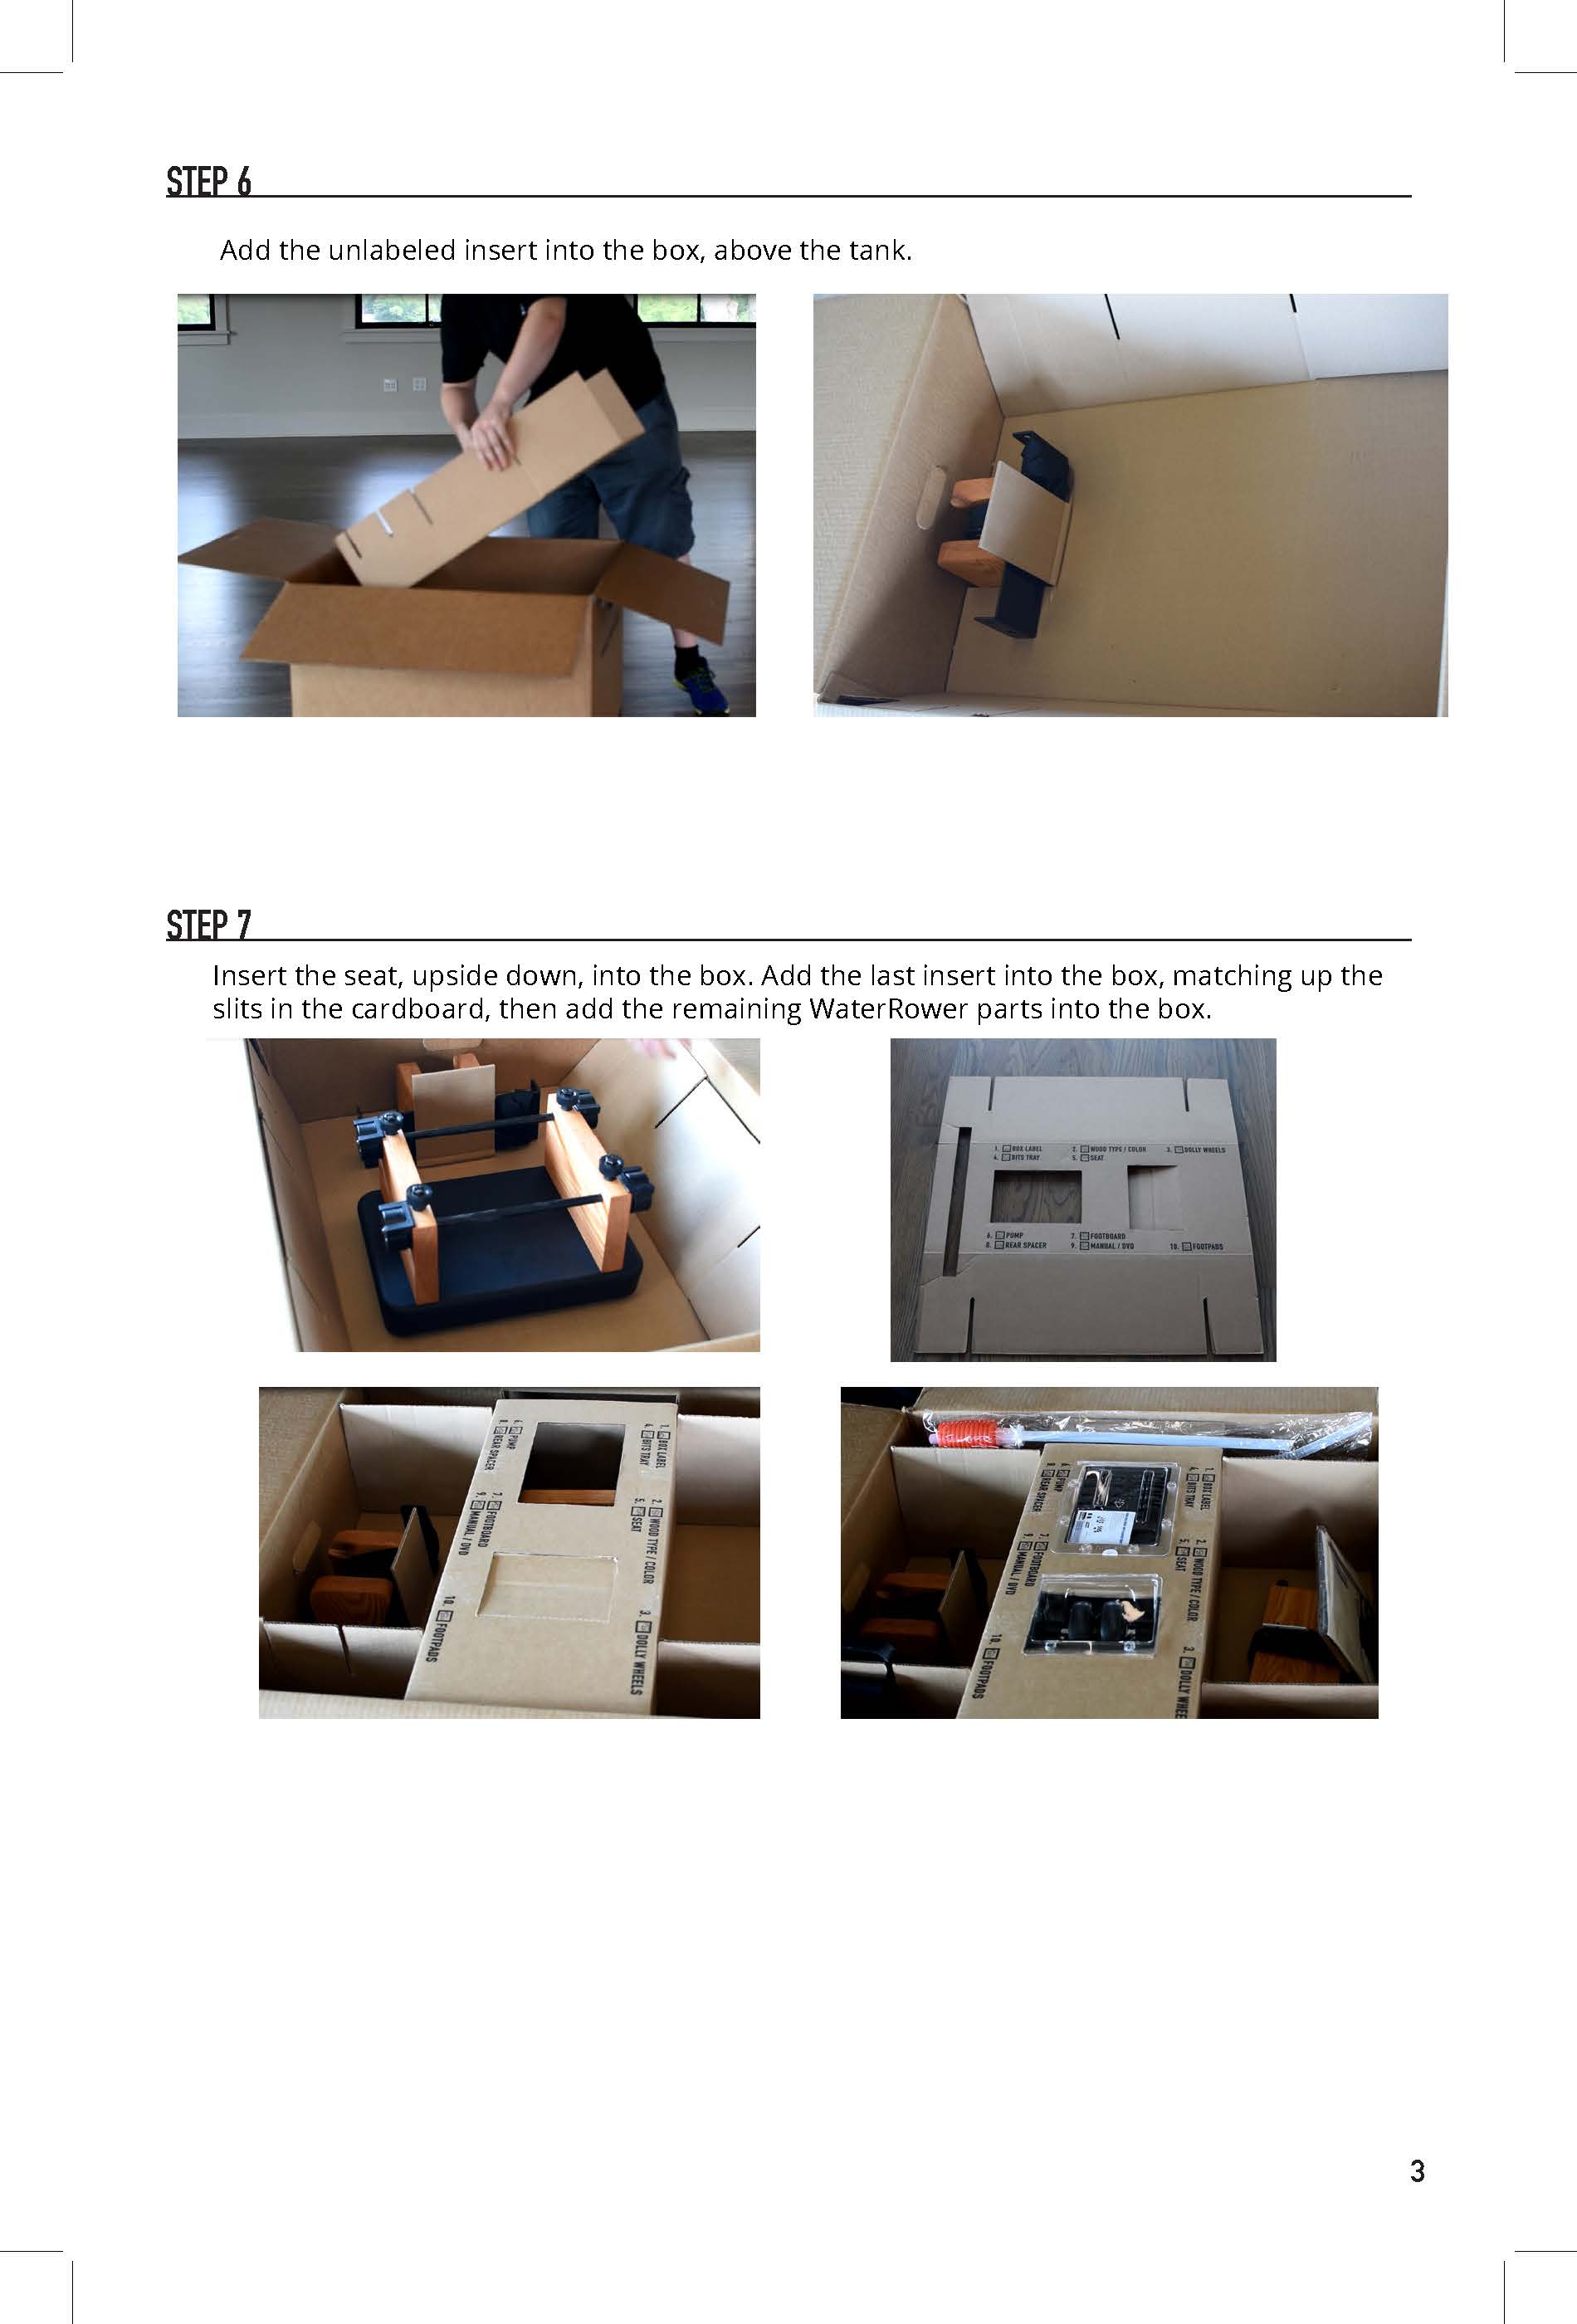
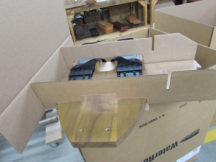
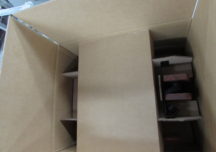
Step 5 - Pack the footboard by inserting the footboard into the footboard packaging. Lay footboard on top of the tank in the box. Pack up the hardware, small parts and the syphon pump and lay them in the box.
1
2
3
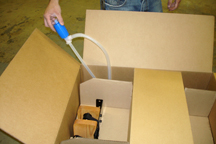
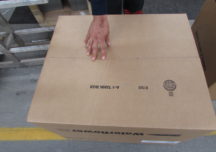
Step 6 - Once the tank assembly, footboard, and smaller parts are packaged up, Securely tape all of the seams on the box.
1
2
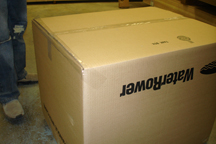
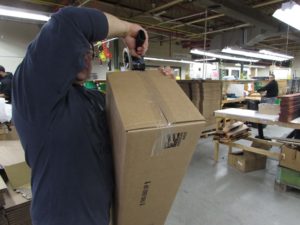
Step 1 - Starting with the top of the box, tape along the middle seam, then along the side seams. Once finished, turn the box up-side down.
1
2
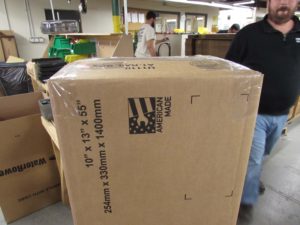
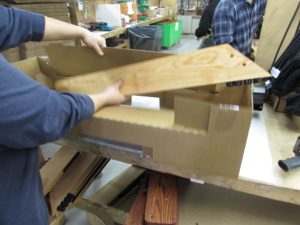
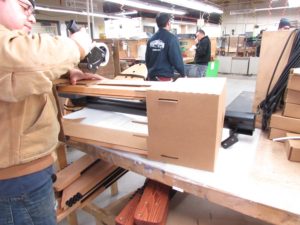
Step 2 - First pack the rails by inserting into the sides of the insert and securing the flap over the rail with packaging tape. Repeat on other side.
1
2
3
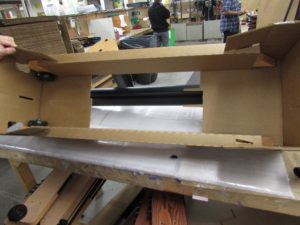
Step 3 - With the box insert laying with the dolly wheels facing the rear, guide the rear foot end of the rail into the box insert. Be sure the bungee comes through the opening on the back end of the box insert as shown below.
1
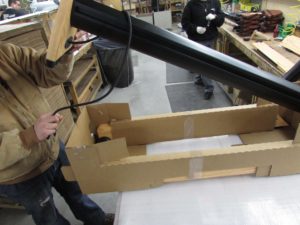
2
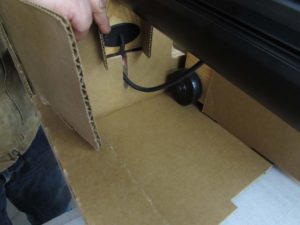
3
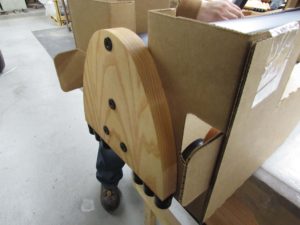
Step 4 - Before placing the rail assembly into the box, be sure to attach the bungee to the side of the box insert.
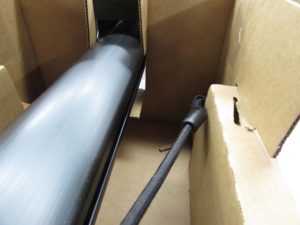
Step 5 - See the image to the right for reference on how the rail assembly should look before going into the box

Step 6 - Grab the rail assembly on the area under the seat and place the rail assembly into the box as shown. If needed, gently pull the reinforced corner of the box to make room as you are lowering the rail assembly into the box.
1
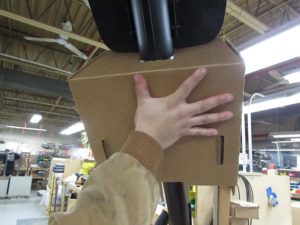
2
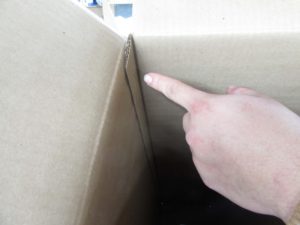
3
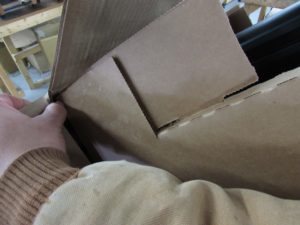
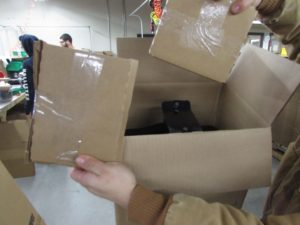
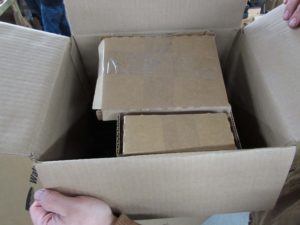
Step 7 - Once the rail assembly is in the box, place the two cardboard inserts on the top of the rail assembly to keep it from shifting during transport. Once the rail is secure, finish taping the box along the seams.
1
2
3
