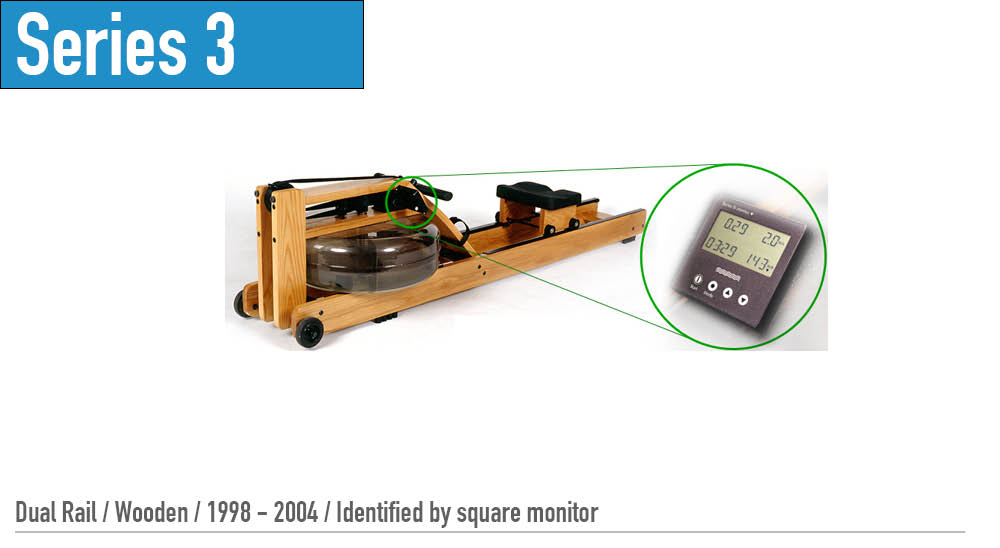
Knowledge Base Archives: Series 3
Series 3: Tank Reseal with Glue Kit
If your tank has sprung a leak, the best way to go about repairing it is with our Tank Glue Kit. We have full written instructions as well as a service video available for you below. Please read all instructions carefully and view the service video before attempting this repair. Be sure to handle the …
Series 3: Single Bungee Replacement
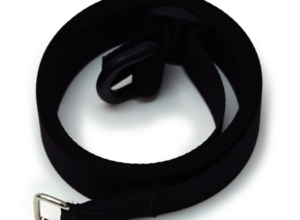
For Video Instructions, please see the following link: Replacing the S4 Bungee Assembly Step 1- Remove the Handle from the handle rests and place the handle in the full forward position. Step 2- Stand the WaterRower upright and disconnect the bungee from the Recoil Belt as shown. Step 3- Remove the Bungee from the Rear …
Series 3: Footstrap Replacement (push-button)
Step 1– Remove the Lock Button bolts and the Lock Button Step 2– Remove the Foot Strap bolts and Foot Strap Step 3– Replace the Foot Strap and the Foot Strap bolts Step 4– Replace the Lock Button and the Lock Button bolts
Series 3: Top Deck Replacement
For Video Instructions, click here: Removing the Top Deck Step 1- Remove the handle from the handle rests and place the handle in the full forward position as shown. Step 2- Stand the WaterRower upright and disconnect the bungee as shown. Step 3- Lay the WaterRower down. Remove the Tie Rods and JCB bolts …
Series 3: Tacho Replacement
Step 1 – Remove the Handle from the handle rests and place the handle in the full forward position as shown. Step 2 – Stand the WaterRower upright and disconnect the bungee as shown. Step 3 – Lay the WaterRower down. Remove the tie rods and JCB bolts connecting the top deck to the tank assembly as shown. …
Series 3: Tacho Pulley Replacement
Step 1 – Remove the Handle from the handle rests and place the handle in the full forward position as shown. Step 2 – Stand the WaterRower upright and disconnect the bungee as shown. Step 3 – Lay the WaterRower down. Remove the tie rods and JCB bolts connecting the top deck to the tank assembly as shown. …
Series 3: Tacho Belt Replacement
Step 1 – Remove the Handle from the handle rests and place the handle in the full forward position as shown. Step 2 – Stand the WaterRower upright and disconnect the bungee as shown. Step 3 – Lay the WaterRower down. Remove the tie rods and JCB bolts connecting the top deck to the tank assembly as shown. …
Series 3: Short Tank Assembly Replacement
For video instructions, please see the following link: Replacing the Short Tank with Metal Clutch 1. Remove the handle from the handle rests and place in the full forward position. 2. Stand the WaterRower upright and disconnect the bungee. 3. Lay the WaterRower down and pull the handle so the drive strap unwinds from the …
Series 3: Recoil Bushing Replacement
Handle Removal Step 1- Remove the handle from the Handle rests and place the Handle in the full forward position. Step 2- Stand the WaterRower upright and disconnect the bungee from the Recoil Belt as shown. Step 3- Lay the WaterRower down and slowly pull the handle so that the Drive Strap unwinds …