Sensor Disk Replacement: View a video for this
Step 1– Remove the Handle from the handle rests and place the handle in the full forward position as shown.
Step 2- Stand the WaterRower upright and disconnect the bungee as shown.

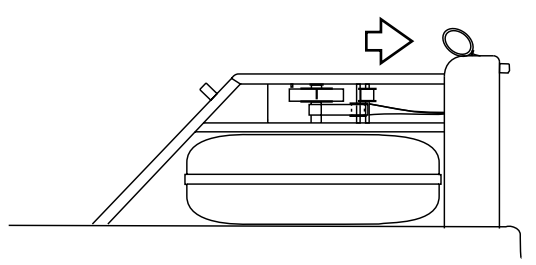
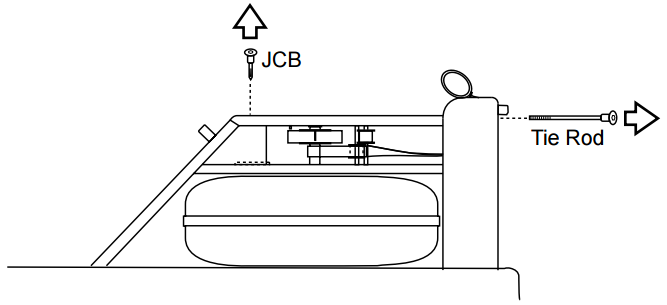
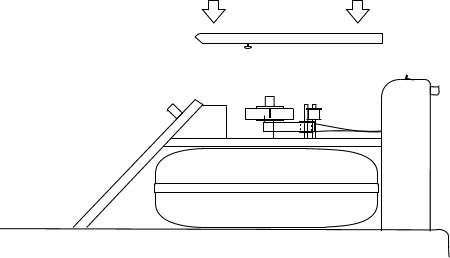
Step 3- Lay the WaterRower down. Remove the Tie Rods and JCB bolts connecting the Top Deck to the Tank assembly as shown.
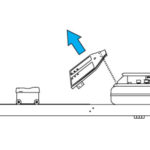
Step 4- Remove the top deck assembly as shown, being careful not to dislodge the guide pulleys. You may have to disconnect the sensor wire plug.

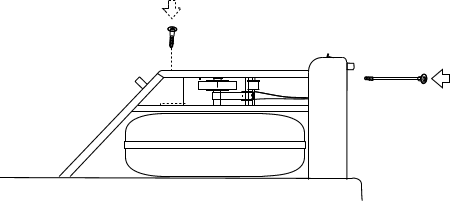
Step 5- Remove the Sensor Disk as shown.
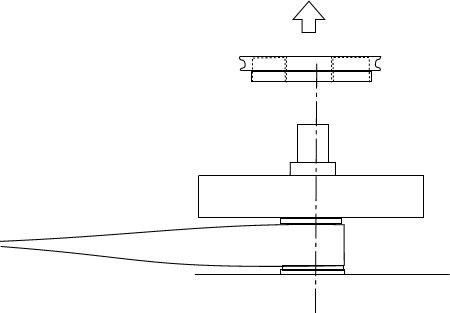
Step 6- Replace the Sensor Disk as shown.

Step 7- Replace the top deck as shown.
Step 8- Replace the JCB bolts and Tie Rods connecting the Top Deck to the Tank assembly as shown. Ensure that the Tie Rod cross dowel slots are aligned with the Tie Rod. You may utilize a screw driver to assist this.
Step 9- Stand the WaterRower upright and connect the Recoil Belt to the bungee as shown.
Note: If the recoil belt buckle and D-ring have been removed it will be necessary to refit them before Step 9 may be completed. Refer to the Recoil Buckle Replacement Instruction for details.