Knowledge Base Archives: Monitor

M1 Monitor Service Instructions

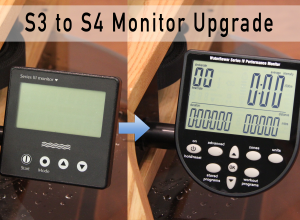
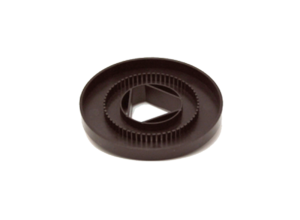
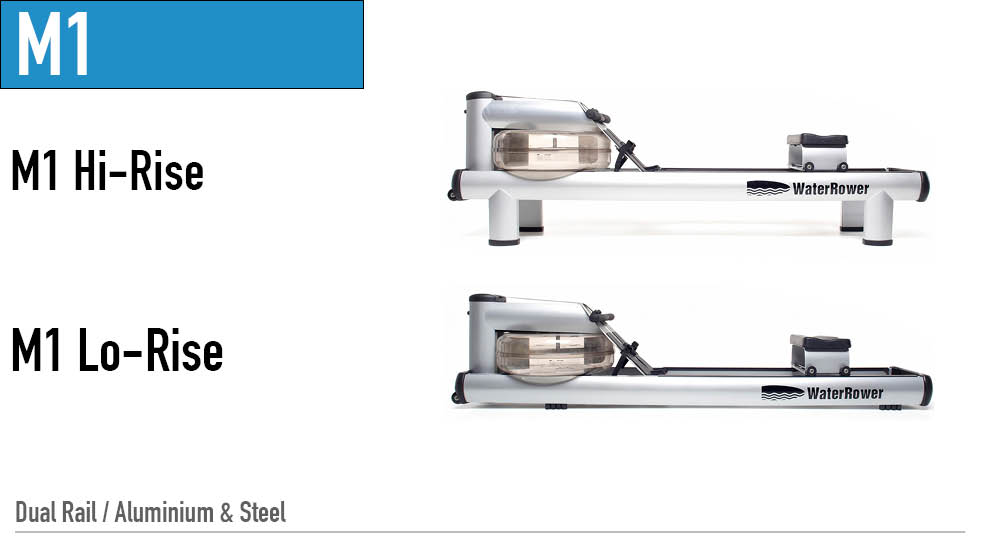
M1: Monitor Sensor Disk Replacement

Sensor Disk Replacement: View a video for this Step 1– Remove the Handle from the handle rests and place the handle in the full forward position as shown.   Step 2- Stand the WaterRower upright and disconnect the bungee as shown.  Step 3- Lay the WaterRower down. Remove the Tie Rods and JCB bolts connecting the Top Deck to …

M1 Monitor Service Instructions

M1: Monitor Housing Replacement

Step 1.  Remove the tie rods and JCB bolts connecting the top deck to the tank assembly as shown. Step 2– Remove the top deck assemble as shown, being careful not to dislodge the guide pulleys. Step 3– Disconnect the Sensor Connector. Remove the old monitor retaining pin and remove the old monitor from the key …

M1 Monitor Service Instructions

M1: Monitor Battery Replacement

Step 1- Remove screws (2) fastening the Battery Cover at the rear of the monitor as shown. Step 2– Remove the Battery Cover as shown. Step 3- Remove the Batteries as shown. Step 4– Replace the Batteries as shown. Step 5- Replace the Battery Cover as shown Step 6- Replace the screws (2) fastening the Battery Cover at the rear of …

M1 Monitor Service Instructions

M1: Monitor Board Replacement

Step 1- Remove screws (2) fastening the battery cover at the rear of the monitor as shown. Step 2– Remove the Battery Cover as shown. Step 3- Remove the Battery as shown Step 4- Remove screws (4) fastening the Monitor Board Assembly to the housing as shown.   Step 5- Remove Monitor Board Assembly as …

A1/GX Monitor Service Instructions

A1/GX: Monitor Replacement

You will need a Phillips screw driver to replace your monitor. Step 1.  Using the Phillips screw driver, undo the top and bottom screws on the monitor. Step 2.  Gently lift the monitor away from the footboard, you will notice the battery pack positioned behind the monitor in the footboard and a small opening where …

Monitor Series 4 Service Instructions

Series 4: S3 to S4 Monitor Upgrade

Step 1- Remove the handle from the handle rests and place the handle in the full forward position as shown.  Step 2- Stand the WaterRower upright and disconnect the bungee as shown.   Step 3- Lay the WaterRower down. Remove the Tie Rods and JCB Bolts connecting the Top Deck to the Tank assembly as …

Monitor Series 4 Service Instructions

Series 4: Monitor Sensor Disk Replacement

Sensor Disk Replacement: View a video for this Step 1– Remove the Handle from the handle rests and place the handle in the full forward position as shown.   Step 2- Stand the WaterRower upright and disconnect the bungee as shown. Step 3- Lay the WaterRower down. Remove the Tie Rods and JCB bolts connecting the Top Deck …

Monitor Series 4 Service Instructions

Series 4: Monitor Sensor Disk Alignment

If your S4 monitor is flashing zeros and not counting down, there is one simple check you can do that may solve the problem. You can check the position of the Sensor Disk. During shipping of your WaterRower Tank this Sensor Disk can slide slightly downwards. The diagram below shows the position of the Sensor …

Monitor Series 4 Service Instructions

Series 4: Monitor Wire Assembly

Position the handle forward to the front Forward Riser pulley Carefully remove the Top Deck by removing the Top Deck bolts and upper Tie Rods. Gently lift the Top Deck up being careful not to dislodge any of the guide pulleys. Unclip the sensor connector from the monitor wire assembly. Remove the footboard handle rests, and …

Monitor Series 4 Service Instructions

Series 4: Monitor Battery Replacement

Step 1- Remove screws (2) fastening the Battery Cover at the rear of the monitor as shown.   Step 2– Remove the Battery Cover as shown.   Step 3- Remove the Batteries as shown.   Step 4– Replace the Batteries as shown. Step 5- Replace the Battery Cover as shown   Step 6- Replace the screws (2) fastening the Battery Cover …