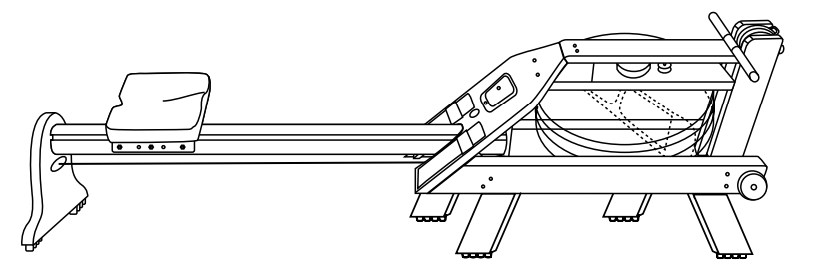
The GX HiRise Adapter has been designed to raise the GX WaterRower Model approximately 7″ (175 mm) in order to provide an elevated seat position when rowing while increasing the ease of entry and exit. To order this part, head to our website: A1/GX HiRise Adapter Kit
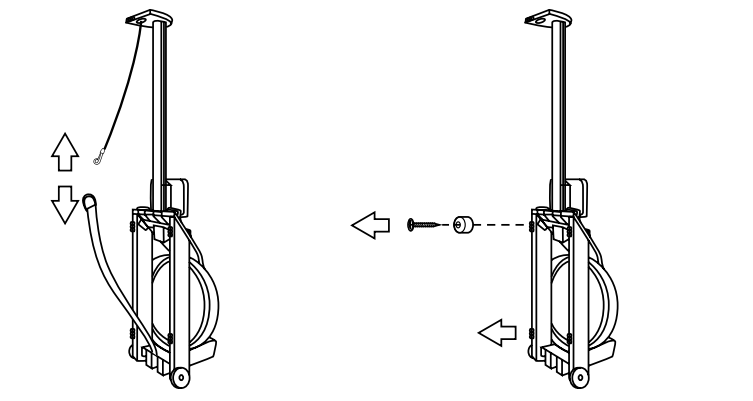
Step 1: Stand the WaterRower upright and unhook the bungee cord from the recoil belt. Using a Phillips head screwdriver, remove all 16 rail bumpers and screws from underneath the rails as shown in the picture below.
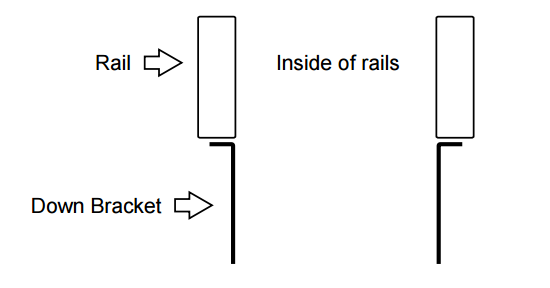
Step 2: Attach the HiRise Adaptor Down Brackets (x4) with the screws provided (x4). These go into the holes left when the screws and Rail Bumpers were removed in Step 1. You may need to pre-drill the 4 holes to make inserting the new screws easier for the brackets.
Make sure that the angle of the bracket is orientated away from the center of the machine as shown in the pictures below.

Ensure that the Down Brackets are orientated so the long flat side is on the inside of the rail as shown in the picture below.
Step 3: Using 2 of the JCNs and 2 of the JCBs, attach each of the wooden legs to the metal Down Brackets. Ensure the angle of each wooden leg matches the angle of the Bracket. Connect the wooden leg to the Bracket using the 2 lower most holes in the leg and bracket as seen in the picture.
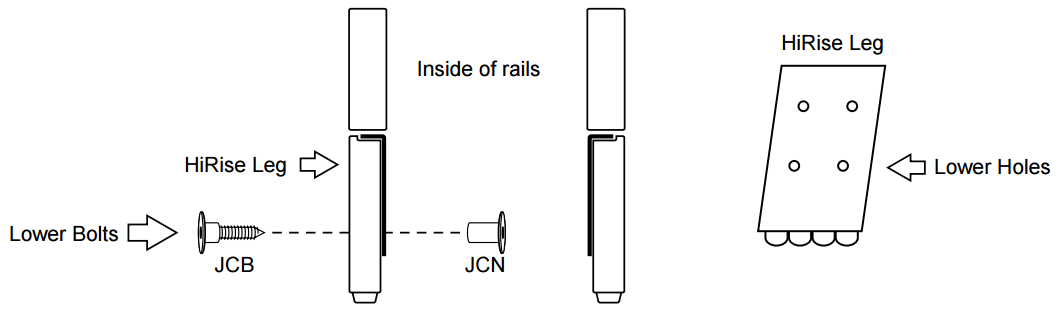
JCN goes on the inside of the leg/ rail and the JCB on the outside. Repeat for all legs.
Step 4: Once all 4 wooden legs are in position, attach the 2 Center Brackets, one above and one below.
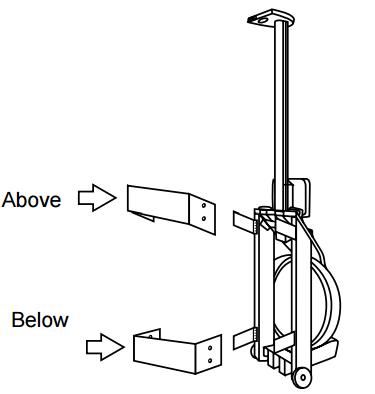
The long, flat part of the Center Bracket should be in a downward position. See pictures below for the correct orientation.
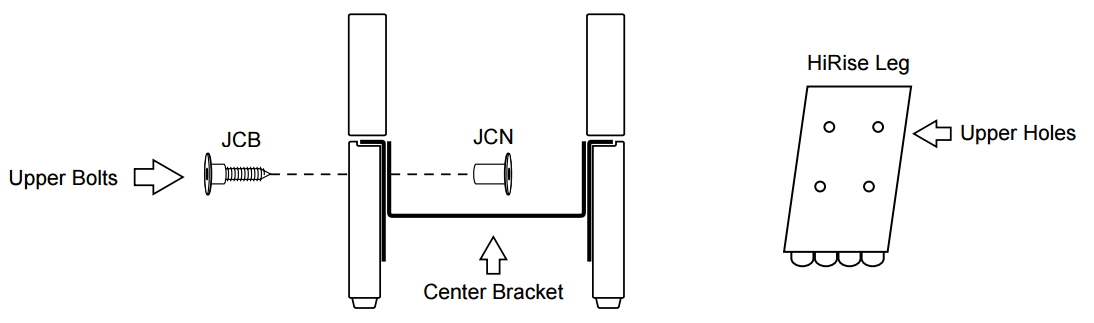
Using the remaining JCNs and JCBs, secure the Cross Brackets to the Down Bracket and wooden legs.
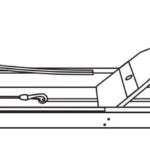
Step 5: Lay your WaterRower down. Using the 5mm Allen Key, remove the 2 vertical JCNs from the Rear Leg. Remove the Rear Leg.
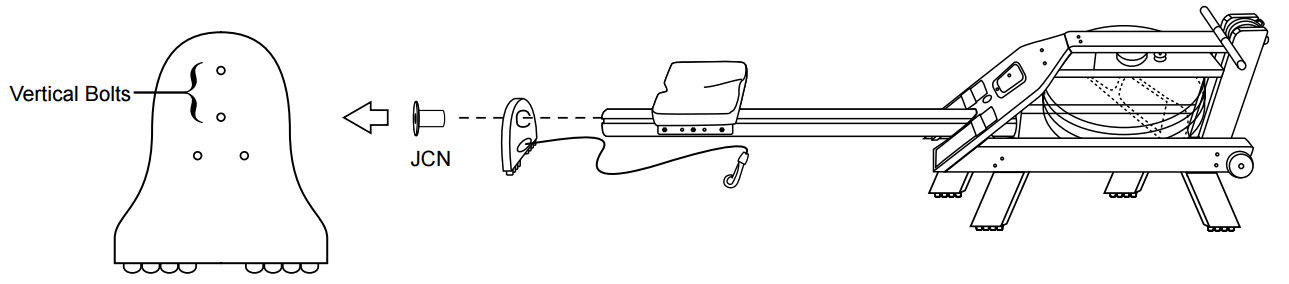
Step 6: Add 2 additional stoppers in on each side of the mono rail groove.
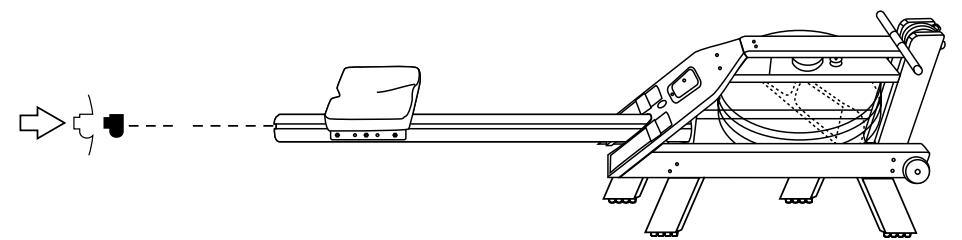
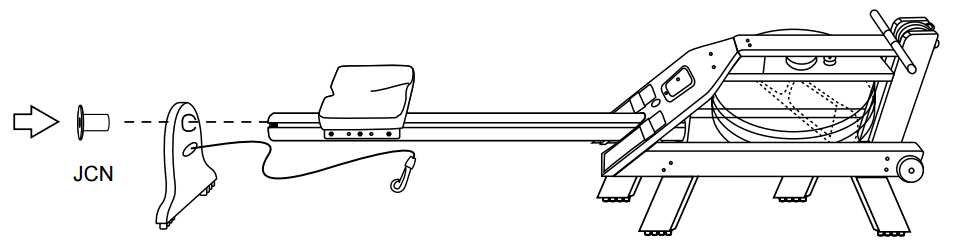
Step 7: Attach the HiRise Rear Leg to the mono rail, and replace 2 vertical JCNs.
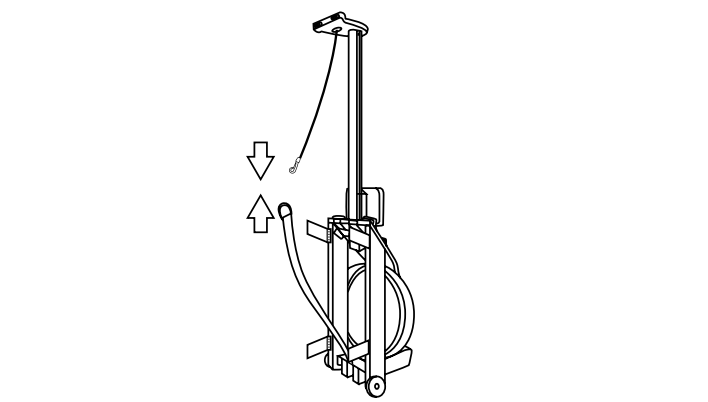
Step 8: Reattach the bungee cord to the recoil belt. Standing the WaterRower upright may help.
Step 9: Set the WaterRower back down and ensure the legs are at the correct angles.