Replace the Series 4 Guide Wheel easily by following the steps in this video: Replacing the Guide Wheels
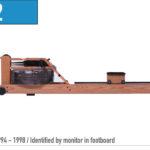
Note: The instructions below will guide you through how to replace the guide wheel seat on the M1 WaterRower, however, the process is very similar for the S4 WaterRower (Natural, Club, Oxbridge, Xeno, and Classic). Once the seat is removed on your WaterRower, please follow the instructions below.
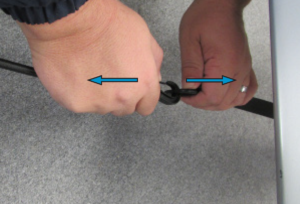
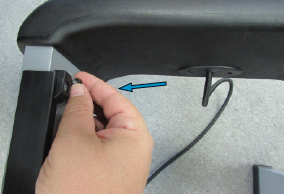
1. Undo the bungee (Only follow this step for M1 WaterRower’s).
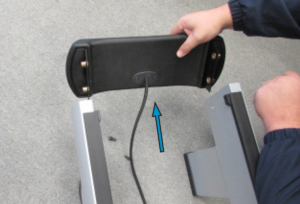
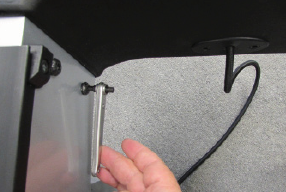
2. Use your 5mm ratchet (or Allen key) to remove the fastners from the rear end pad (or wooden spacer on wood models). (For M1 WaterRower’s Only)
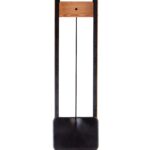
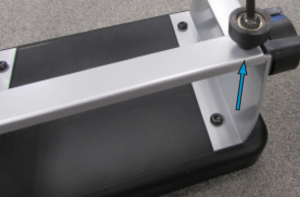
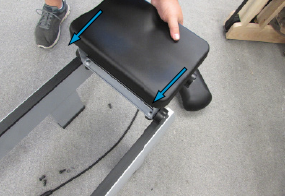
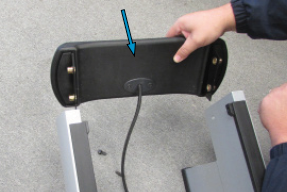
3. Slide the seat off the rails and flip the seat over so you can access the guide wheels located on the bottom of the seat.

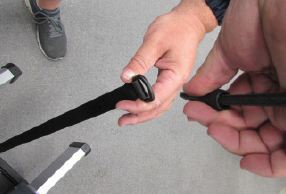
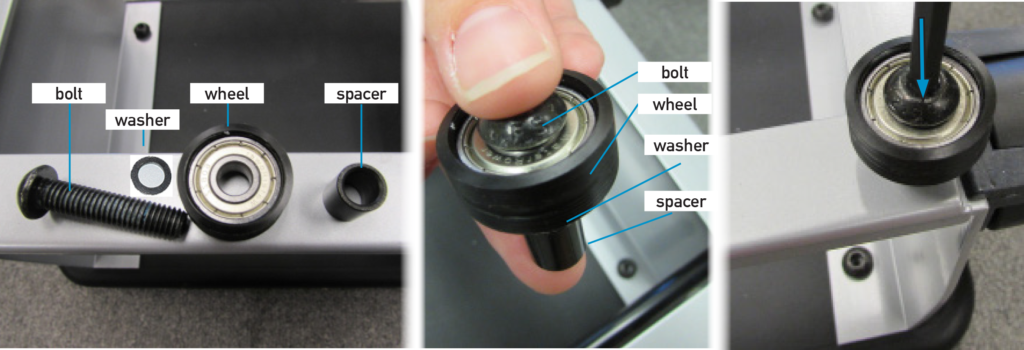
4. Using your 5mm ratchet (or Allen key), remove the bolt in the center of each guide wheel to loosen and remove the wheels.
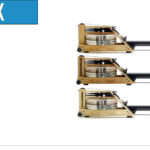
5. Attach the new guide wheels in the order shown above (from the top, place the bolt through the wheel then the washer and spacer). Use Loctite to secure the wheel. Tighten the wheels onto the bottom of the seat with your 5mm ratchet (or Allen key). Do NOT overtighten bolts.
6. Slide the seat back onto the rails
7. Replace the rear end pad (or rear spacer on wooden models).
8. Hand tighten all of the end pad (or rear spacer) bolts.
9. Use your 5mm ratchet (or Allen key) to tighten the end pad (or rear spacer) bolts.
10. Stand the rower up and reattach the bungee.