Step 1. Remove the Handle from the handle rests and place the handle in the full forward position
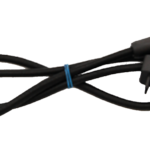
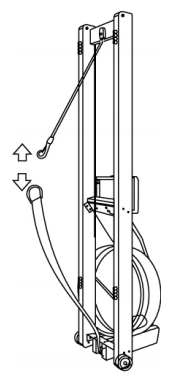
Step 2. Stand the WaterRower upright and disconnect the bungee from the recoil belt as shown
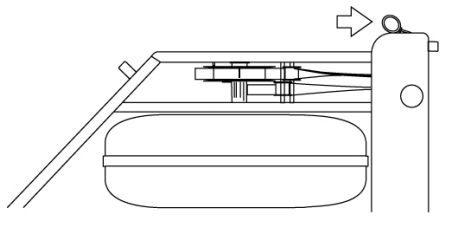
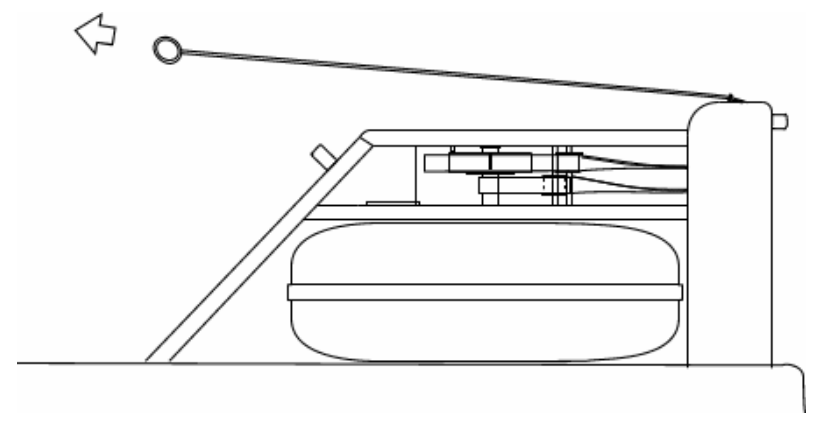
Step 3. Lay the WaterRower down and slowly pull the handle so that the drive strap unwinds from the clutch housing. Do this gently as pulling too fast will cause the recoil belt to wind up too much.
Step 4. Remove the handle rest bolts and handle rests as shown.
Step 5. Remove side bolts fixing the footboard to the side rails as shown.

Step 6. Remove the footboard.
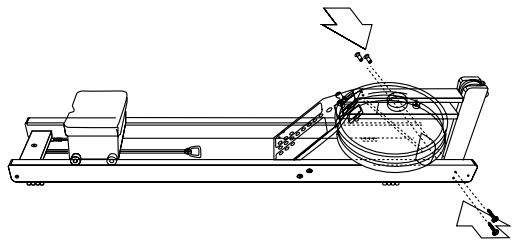
Step 7. Remove the side bolts fastening the forward riser bracket to the side rails
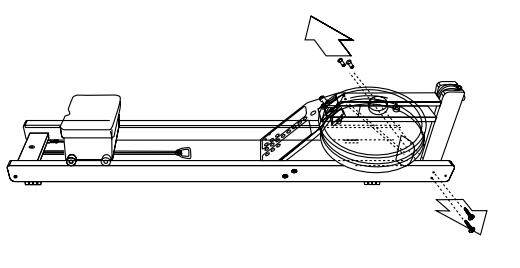
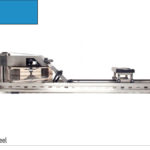
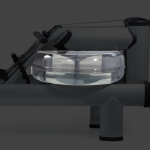
Step 8. Remove the tank assembly.
Step 9. Replace the tank assembly.
Step 10. Replace the side bolts fixing the footboard and forward riser to the side rails as shown.
Step 11. Replace the footboard as shown.

Step 12. Replace the Handle Rests and Handle Rest Bolts as shown. Do not Tighten the bolts yet.
Step 13. Replace the bolts fastening the footboard to the side rails as shown. When complete tighten all fasteners.